


NXP MIMXRT1020 + AzureRTOS
Overview
This example shows how to build an HTTP server using Mongoose Library and run it on an NXP i.MX RT1020 development board with AzureRTOS. The source code for this tutorial is located at https://github.com/mongoose-examples/nxp-mimxrt1020-azurertos
Project structure
A big part of this example is a regular MCUXpresso IDE project (a lot of generated
files, FreeRTOS and lwIP sources, etc.). Mongoose-related functions are located
in files source/web_server.c and source/web_server.h. Mongoose
itself is located in the source directory as well. Board network
configuration (e.g. IP address) can be found in source/web_server.h
General description
Below is a general process outline:
- First of all, set IP address, network mask and gateway suitable for your network in the
source/web_server.hfile. Default address is192.168.0.10. - Build the example and run it on your development board (see next section).
- The firmware initializes the network
- After initialization, the application starts Mongoose's event loop and blinks an LED
- Once the LED starts blinking - the web server is ready
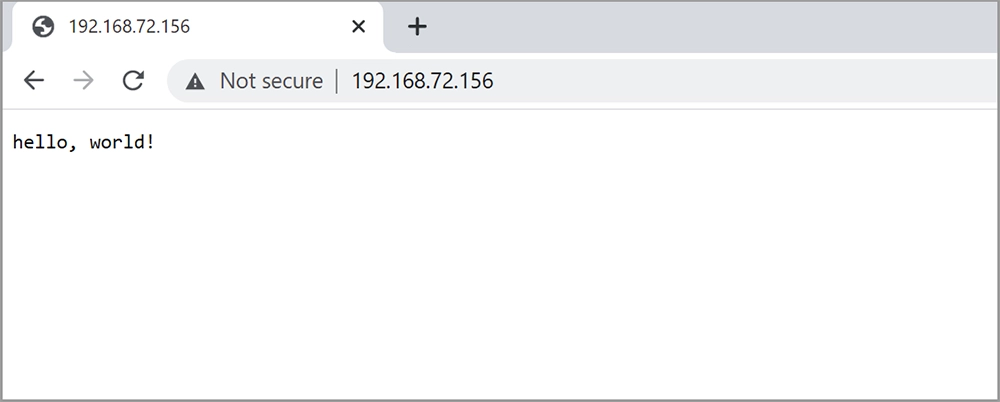
- Open your web browser and navigate to the board IP address, you should see a "Hello, world" page
Build options
There are (at least) two options to build the example:
- Using the
makecommand - Using the MCUXpresso IDE software
Option 1 - make
- Install Docker
- Start a terminal, navigate to the project folder, and from there run
$ make build - When build finishes, flash the board using your favorite tool
Done! See the LEDs to understand the application status
Option 2 - MCUXpresso IDE
MCUXpresso IDE is an IDE software provided by NXP Semiconductor. To build this sample with MCUXpresso IDE you need to do the following steps:
- Start MCUXpresso IDE
- Choose
File -> Open Projects from File System...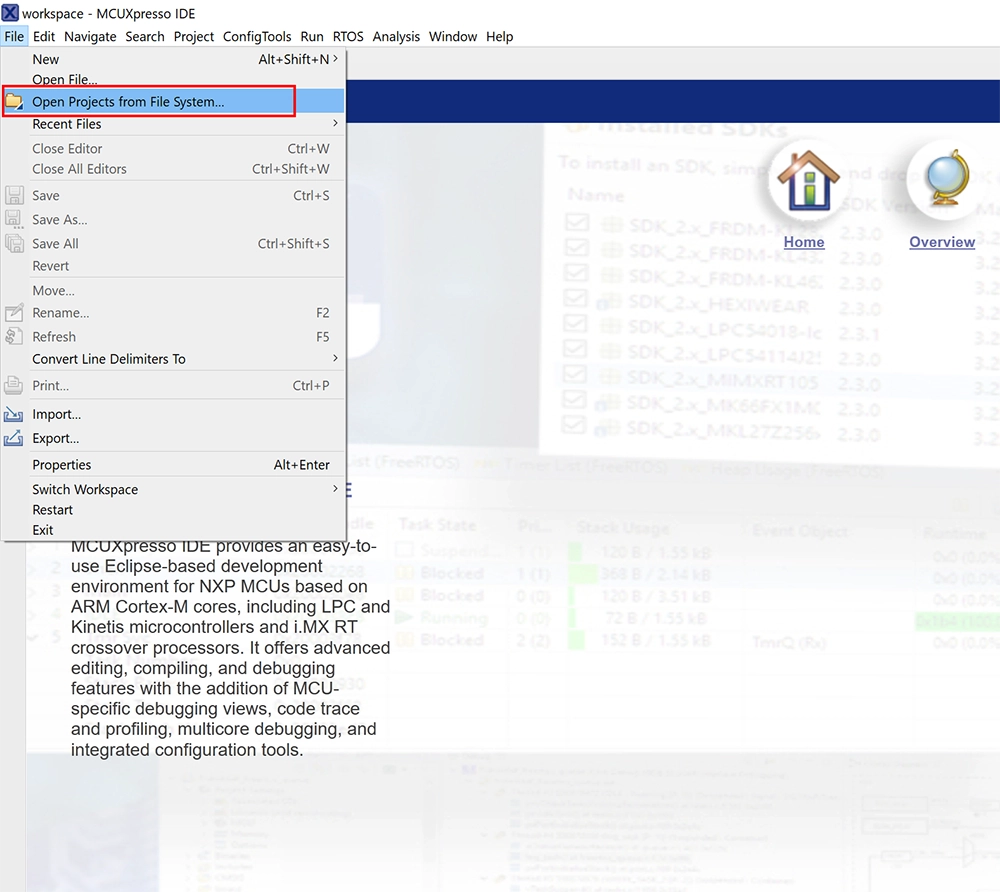
- Pick the project directory as
Import source, make sure thatMIMXRT1020-azureproject is checked, and clickFinish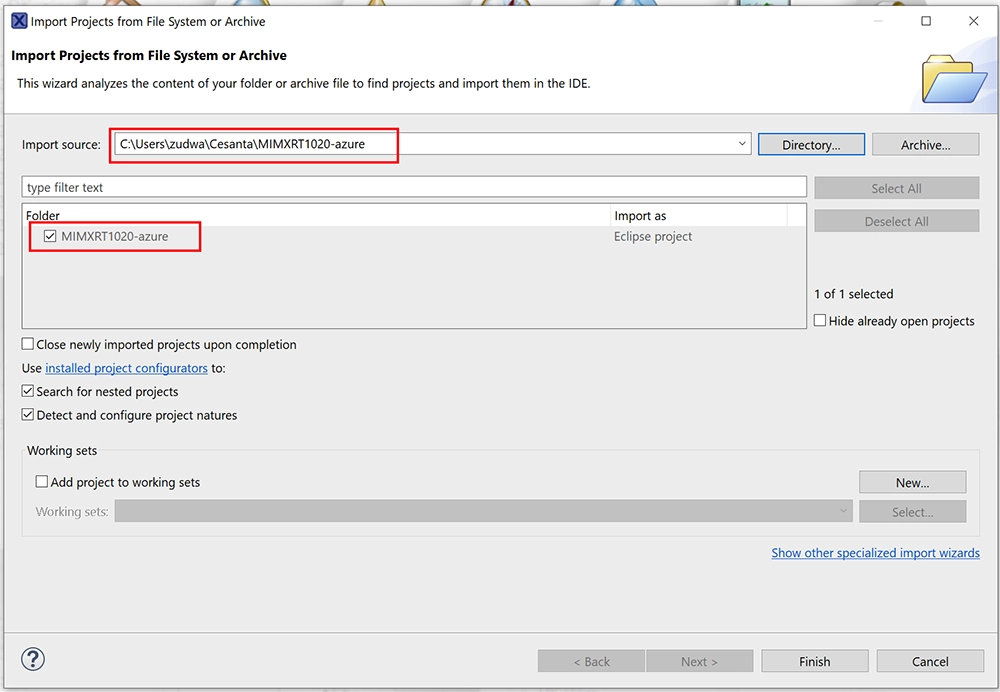
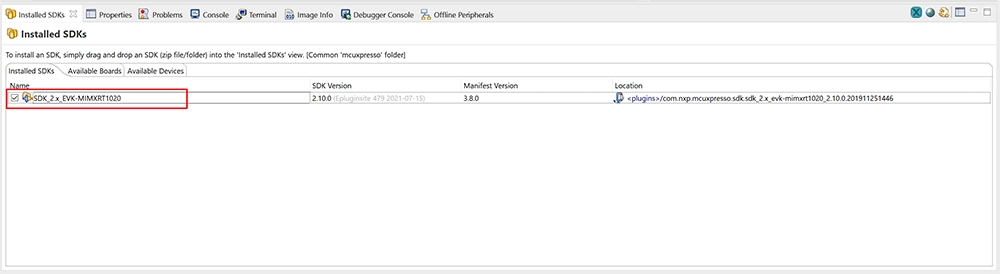
- Check if you have the required SDK installed, if not:
- Press
Install New Plugin SDKs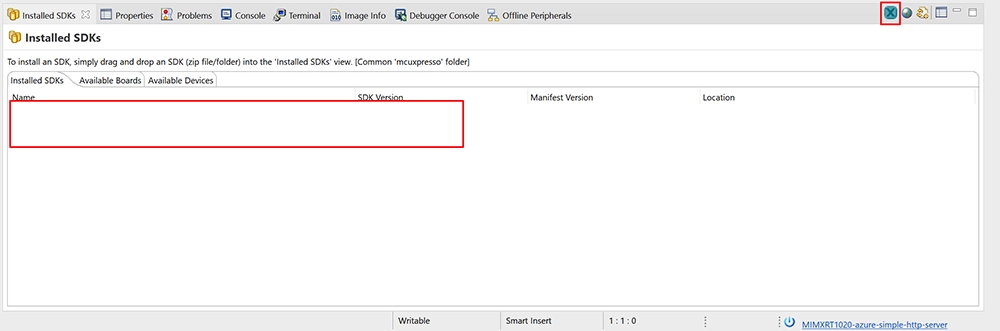
- In the board list choose
evkmimxrt1020and pressInstall
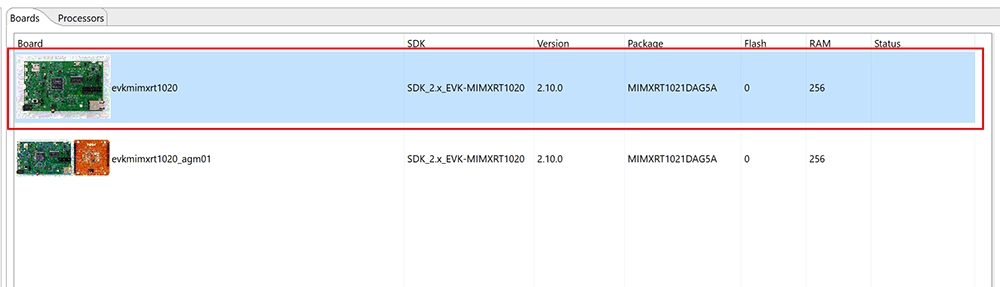
- Once the wizard has finished, you should see the SDK has been installed
- Press
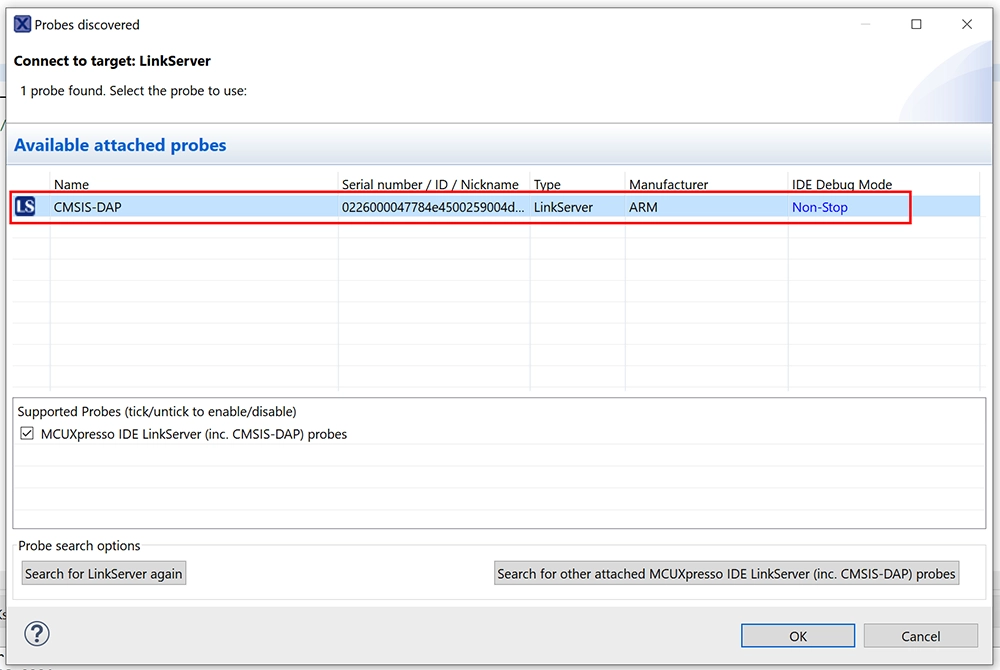
- Choose
Debug as -> MCUXpresso IDE LinkServer (inc. CMSIS-DAP) probes, to build and flash the application. NOTE: you may prefer to debug using other interfaces, but this sample is configured to print output information in semi-host mode.
- You can be asked to choose the board to use
- After a successful building and flashing, the execution will pause at the beginning of the
mainfunction - Go to the
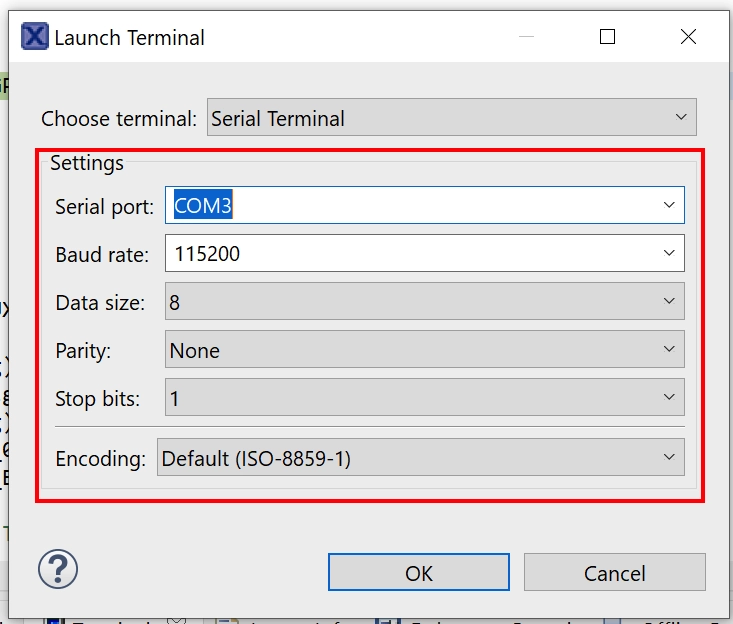
Terminaltab and open terminal settings.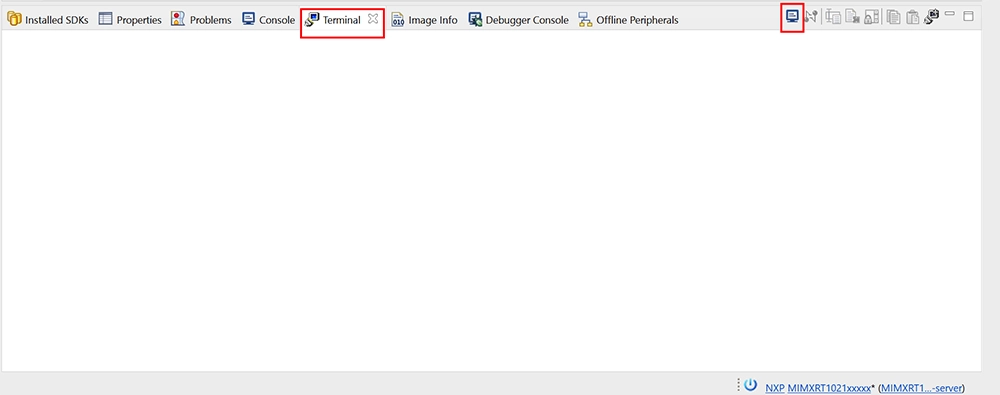
- Configure your terminal as shown in the picture below
- Choose
Run -> Resumeto continue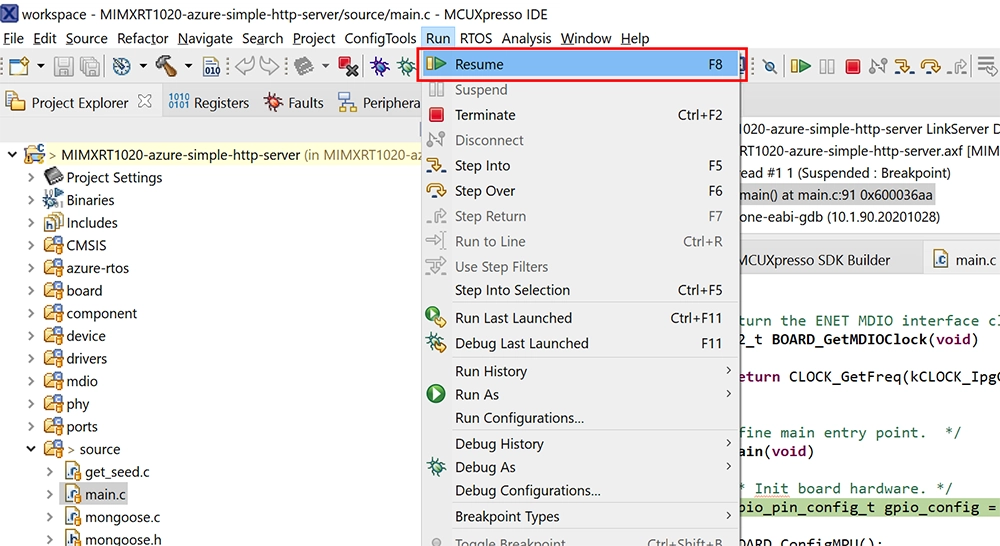
- Done! The LED should start to blink and you should see Mongoose output in the terminal window
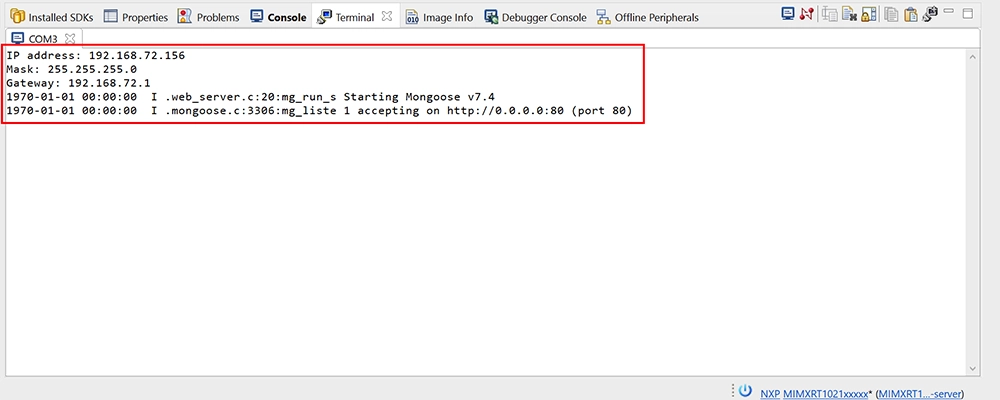
- Open your web browser and navigate to the board IP address, you should see the "Hello, world" page.